This is not for the faint of heart and if command lines scare you, don't try any of this! Ideally, you should have some idea of Linux but I'll try to spell things out where possible.
For this effort, I am going to use a commercial chromebook as a starting point. One thing to note about chromebooks is that they have 2 basic CPU types - Intel and ARM based. Both work reasonably well for just the Chrome OS, but for hacking purposes and what will be necessary to make music, I STRONGLY recommend sticking with an Intel based chromebook.
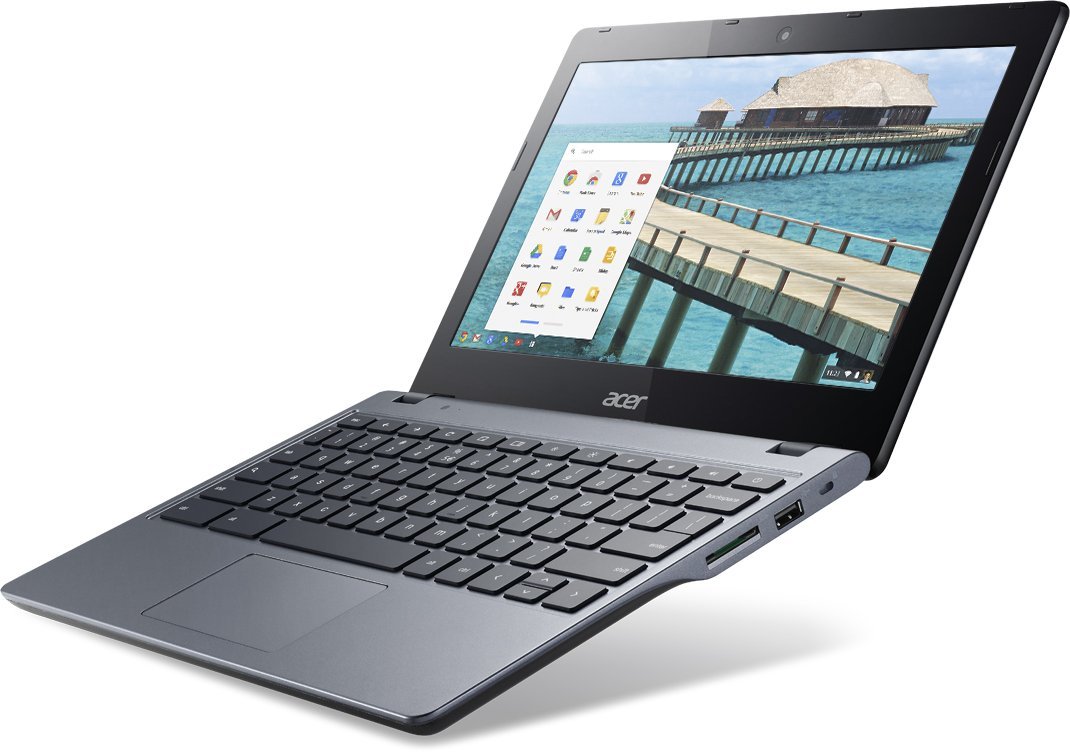
There are tons of choices here. I will be working with the classic Acer C720 chromebook for its somewhat faster CPU, easy hackability and well-documented solutions to some of the challenges in running Linux side by side with Chrome OS. The model I used has a list price around $200 (or less) at the time of this writing and I will recommend a minor hardware upgrade costing an additional $55. Some of the hardware "tweaks" I recommend here are particular to the Acer model. If you use something else, do some research on how to apply the same upgrades.
For $200, the Acer C720 gives you a basic 11" laptop running a 64-bit dual core Celeron Haswell processor, 16 GB of SSD storage and 2GB (soldered! yuck) of memory. Pretty basic hardware which is more than fast enough for the normal demands of the Chrome OS, but presents a few challenges for music making. I prefer the small size for portability, but there are bigger chromebooks if screensize matters more to you.
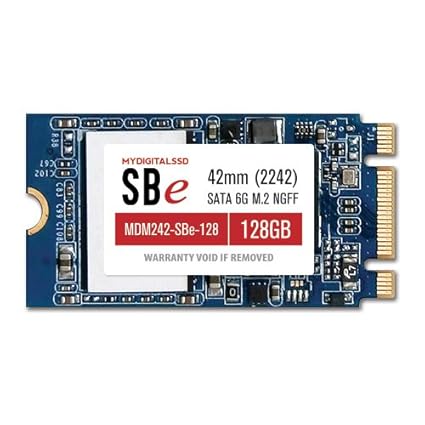
First off, the storage! 16GB is plenty for the Chrome OS where you save almost everything into the cloud. Google gives you either 100GB or 1 terabyte of storage free for 2 years with your purchase. For music making, however, you need more local storage and I suggest that you do an upgrade yourself to 128GB. It is not essential, you can fit probably one Linux distro on the 16GB, but storage will get tight.
A bigger concern is the 2GB of memory. This is fine for Chrome OS but a bit small for some Linux programs. There are some 4GB chromebooks out there and if you can find one, might be a good ideas up front! In my case, these were too scarce so I settled for the 2GB which is unfortunately soldered to the motherboard so you won't be upgrading it. There is an easy fix to make that memory go much further in both Chrome and in our music environment (which if you haven't guessed yet, will be Linux based). I have found the processor to be the least of my worries on the chromebook and with the SSD, the chromebook "feels" faster than even my desktop iMac in most respects.
In order to "hack on" our Linux based music studio, we are going to have to put the chromebook into its "developer mode" which, thankfully, is pretty easy to do. On the chromebook, press at the same time esc, refresh (the key 2 keys to the right of esc) and the power button on the far right. This will reboot the chromebook into recovery mode. When the recovery message comes up, press ctrl-D. This will put you into developer mode which is essential for using Linux on the chromebook.
Whenever you reboot the chromebook or update your Chrome OS by restarting it, a pop up screen will show with a 30 second timer and a message stating "Chrome OS verification is turned off" and a prompt to press the spacebar. Under no circumstances do you want to do this unless you want to start over! This will reset the chromebook and wipe out any non-chrome software that you have installed. Instead, when this message is displayed, you need to press Ctrl-D again to stay in Developer mode. You've been warned!
Since we are this far and in developer mode, let's take care of the 2GB limit on memory. Linux will let you create "swap partitions" that will swap memory onto disk and back again when more memory is needed than you have. In the case of the chromebook, you don't have a magnetic disk but you have a SSD. It is normally a very bad idea to use a SSD drive as swap space. The SSD would be constantly reading/writing to the same locations which would wear it out faster. The good news is that the Chrome OS uses a technique called "ZRam" on Linux. We can allocate swap space, and Chrome will "compress" the memory in place and use actual memory for the swap space, not the SSD. This can effectively double your memory.
To activate swap, all we have to do is press Ctrl + Alt + T which opens a shell called "Crosh".

We can type "swap enable", optionally with a number of MB (I suggest 2048 for 2 GB) and press enter. Swap should fit in main memory and you'll have much better performance both in Chrome OS and in our Linux installation when we get there.
At this point, we have a running chrome OS in developer mode with better memory management. Before we install any software, however, let's think about upgrading the SSD and let's fix that problem with having to press Ctrl-D or risk losing our software when someone presses the spacebar by mistake! The next steps (optional, not required) will:
- Involve some minor hardware surgery on the chromebook
- voids your warranty :) We don't need no stinking warranties!
Before we do surgery, we should make sure that you create a recovery USB drive to allow us to recover the Chrome OS to the new SSD we want to install. Follow the instructions here to create the USB stick.
Now we are ready to open up the laptop and do our surgery. This site shows how to open up the laptop and gives instructions on removing the bios write protect screw. We will use that as a guideline, but follow the instructions here since our setup will be slightly different.
Once you get the laptop opened, remove the screw as indicated in the pictures. We will then turn the laptop back over, plug it in (with the back still off) and we will set the bios so that developer mode will be "locked" and the reboot screen will only show for 2 seconds.
To do that, once the screw is removed:
- Press Ctrl-Alt-T to get a shell prompt.
- Type shell and press enter
- Type sudo su and press enter (puts you on as root)
- Type cd /usr/bin and press enter
- Type set_gbb_flags.sh 0x9 and press enter
We are not using the setting shown in the site because we won't be dual-booting. Use the "0x9" value instead. Now you can replace the write protect screw but leave the back open, we are going to replace the SDD drive while we are here.
I mentioned above that a bigger SDD is a good idea and I recommend this one. It is essential that you pick this type of socket to be compatible with the C720 hardware. Take out the screw on the existing SDD (again refer to the picture), gently remove it and replace it with the new SDD. I found that the label on the one I bought was on the other side than the original! Once installed, replace the screw and you are set to put the back back on and screws back in.
When you next reboot, you'll get an error of course because we have a blank SDD. You will be prompted to put in your recovery USB which you should do. A few minutes later, you should have a new recovered chromebook with 128GB of storage. You log onto google once more, it will recover ALL of your settings from Chrome OS and you are back in business with better hardware!
Next post, we will install our operating system for our music studio.
No comments:
Post a Comment