Wednesday, July 31, 2013

Noatikl for iPad pt. 6

In this part of the tutorial, we will finish out the voices for our song with a flute and a vocal choir sound. For these voices we will use another voice type - rhythmic (which is the default for Noatikl).

To add the voices, press the + button on the design window and select Rhythmic to merge in a new voice.

Do this for each voice and name the first, "flute" and the second "vocals". Make sure that flute is connected to MIDI channel 2 and vocals to MIDI channel 3.


For the flute, we want just one part playing but we need to set the rhythm rule and set the pitch to a higher range. The Pitch is set to 55 (higher numbers mean higher notes) and the Pitch Range is set to 32. This determines the highest and lowest notes.

The rhythm rule is set to "All But Dotted" for the flute. Clicking on the rule will show you the note types and you can tweak the probabilities for each duration if you wish.

You'll notice that each grey bar is set to 100% so each of the grey notes is equally likely to play.

For the vocals voice, the rhythm rule is set to slow.

We want the vocals to sing in harmony so we will go to the chord screen and select a chord range. For the vocals, we use a Depth of 1 and a range of 3 which means each note will be between 1 to 4 voices and harmonies.


If we listen now, we should hear a fully harmonized song! In the next part, we'll cover how to perform and record the song.


Saturday, July 27, 2013

Noatikl for iPad pt. 5

In the last tutorial, we finished off our drum parts which were all hooked up to MIDI channel 10. This tutorial is going to add a nice acoustic guitar to our song. As the picture above shows, we have Sampletank playing its guitar part on MIDI channel 1 using samples for a nylon string acoustic.

In Noatikl, we are going to add a new voice by press ing the + button in the design window, selecting fixed pattern voice and pressing the Add button on the upper right hand of the screen.


Press OK to merge it into the current song file and rename it to Guitar. By default, it should be connected to MIDI channel 1. If it isn't, just drag for the voice to the MIDI channel.


For the guitar, we will use several patterns but we also want the guitar to play its own thing 25% of the time. As before, we will create some patterns and set the percent use to 75%. So far, we have used only rhythmic patterns such as <100 R -60 30 30 -60 60>. For the guitar part, we will use another pattern type in Noatikl where we specify both the rhythm and the note interval. The note interval is a relative number within the scale we specified and means that the 2nd, 3rd, 4th etc. note of the scale will be played.

Instead of the "R" in the pattern, we will use "B" and we will specify both note length and note interval. Our first pattern is:

<100 B 60 5 60 8 60 12 60 2>

100 is the relative weight or probability, "B" means both rhythm and notes, and the next numbers are pairs that specify duration and pitch. This pattern plays a quarter note 5th, a quarter note 8th (meaning first note of scale but one octave up), a quarter note 12th (octave up 5th), and then a quarter note 2nd.

We are going to adjust the root pitch to be 33 (this is I think A#) in the pitch slider in the basics screen for the voice.


Notice that the use patch is turned off for this voice. We are not using General MIDI codes here. We are using a sampled instrument. The patch name shows guitar but it is not relevant (I selected the patch just for documentation purposes).

While we are here, I'm going to set the note rest % to 10 to give the patterns some variation. 10% of the notes will be replaced with silence giving us a little syncopation.


If we play at this point, you should hear a boring one note guitar sound as well as your drums. Let's add two more patterns with same 100 weight (makes each of them equally likely) so our pattern looks like:


Let's make some chords now. We want the chords to be strummed and to be either 3,4 or 5 strings. Go to the Chords screen and specify 3 for the chord depth (meaning 3 strings will sound) and 2 for the depth range (this will vary the number up to 3+2 strings).

The default strategy says Chordal harmony but we will change it to Interval within Scale Rule to use sounds closer together as a real guitar would sound. In the Shift/Interval field put 2 so we get 3rds or 5ths. I also put the Shift Interval range at 2 to provide some variety. Experiment with these! The Delay on the chard is set to zero with a range of 4. This means each note of the chord may have a few ms delay which makes them sound 'strummed'. Again, experiment. If you play now, you'll hear some nice rhythms and chord progressions.


Lastly, remember that we put 75% on the use pattern percentage, so we need a rhythm rule to use for the other 25%. Set it to Slow:

Voila! We now have drum and guitar playing together. Next parts will cover a flute and some vocals.


Monday, July 22, 2013

Noatikl for iPad pt. 4

In the last tutorial, we got our Noatikl engine to start playing a beat with some built-in variations. In this part, we will finish out our drums.

Currently, our design window has a kick drum, snare and high hat and looks like:

Just a reminder that since we are using virtual MIDI, the only parts of this screen that are relevant are the voices and the MIDI channel. The other buttons, Synth, effect, etc. are only used when using the built-in Partikl synth.

To finish out the drums, we are going to add a 'shadow kick' drum and some percussive sounds. Let's start with the kick. We want the kick drum two to play one beat behind the main kick drum but only if the kick drum plays (not when it is skipped in a measure). To do this, we will again use a following voice with a delay of one beat. Tap the current kick voice, press copy. Tap it again and press paste. Tap the new voice and change its type to Follows and change the patch to D035-Kick Drum 2.

As before, we need to press the Follows button on the left of the screen, set the follow voice to 'kick', change the delay type to 'Beats ( 60th of a)', and carefully move the slider on delay to 60.


Now if you press play, hopefully you hear a nice shadow kick.

Our last percussion voice will be an electronic sounding percussion hit. We want it to normally be a fixed pattern but with occasional variation. We will use the Fixed Pattern type for this one so copy the kick voice and press paste again to 'prime' the new voice.

Change the voice name to 'Perc'. The design should look like this:


We are going to give this voice a fixed pattern but we are also going to let the voice construct its own pattern 25% of the time. To do this we will go to the pattern window and use <100 R -60 30 30 -60 60> for our pattern ( quarter note rest - 2 eighth notes - quarter rest - quarter note ). We also will change the use percent to 75.

What this means is that roughly 75% of the time, this pattern will be played but 25% of the time, the voice will make up its own pattern using the rhythm rules you provide. So on the Patterns screen you should see:


Almost done! Now press the Rules button on the left of the screen. On this screen, tap the rhythm rules option and select the "Semiquavers Only" option. (Semiquavers are 16th notes - told you a musical background helps!).


Finally, we are done the drums....mostly! All the parts play and they do sound ok together, but if you listen extremely closely, every beat is right on the money and machine-like. Real drummers aren't perfect and vary timing just ever so slightly. I'll show you on one voice but you might want to vary timing on each drum voice.

Taking the kick as an example, press edit and then select the "Micro Delays" button. We will set the Delay range to 2 and the Delay Change to 1. This means that each note may be 0,1 or 2 microseconds off its target. You can play with the range to make it more or less random. This tends to "humanize" the beats.

A lot of work for beats! What is great about Noatikl is that the beats will vary themselves. No need to create lots of patterns and go measure by measure.

Tip: save the project with just the drum kit to use in future projects as a template.

Next time we'll go into the melodic voices.


Wednesday, July 17, 2013

Noatikl for iPad pt. 3

In the last tutorial, we got as far as attaching Noatikl to Sampletank via virtual MIDI and actually getting our kick drum working. To do that, we created a fixed pattern voice and provided a pattern for the kick drum which has two lines. In this post, we'll go into explaining the pattern a bit more in depth. See links on right for other tutorial parts.

If you listen carefully to the kick drum pattern, you may notice a few things:

  • Obviously there is some variation in the rhythm since two patterns are used
  • The volume of each kick varies somewhat

Let's start with the first pattern: <50 R 60 -180>

All patterns in Noatikl appear between <> brackets (which is a pain to type on an iPad!). There are several types of patterns supported by Noatikl - this pattern is a rhythmic pattern as indicated by the "R". For a drum part, the note pitch isn't usually important since you just strike the instrument. Each beat in Noatikl is represented by 60. For a rhythmic pattern, positive numbers are notes, and negative numbers are rests. The initial number (50) is used as a weighing factor determining the probability that the pattern gets played assuming you have more than one pattern.

For the kick drum, our other pattern is : <50 R 60 -90 30 -60>. Following the logic above, you can see that this pattern will play a kick on beat 1 and the 2nd half of beat 3. The total of the numbers is 240 or 4*60 which is 4:4 time. Intermorphic has more documentation on patterns here.

Using what we already know, we are now going to add a sort of high hat part to the drums. We could add a new voice from the design page by clicking + and selecting another voice type, but to save time, we will copy and past pe our kick sound. Tap on the kick and press the copy button to put it in the clipboard. Tap kick again and press paste. This gives us another voice connected to MIDI channel 10.

Tap the new voice, press edit and rename it to "hh".

We need to select another patch to get our desired sound. Bring up the voice edit screen for the hh and experiment with different patches (use the patches starting with "D" for drum sounds. I found that for the drum kit we selected in Sampletank, patch D047 sounds good even though it isn't labeled as a high hat.


When you have a pattern defined, I like to hit play and then audition different patches to pick one I like. For our pattern, press the pattern button on the left of the voice edit window and enter the following 2 patterns:


The first pattern plays a series of 8th and 16th notes and the second pattern is silence! Th 75/25 numbers mean that 75% of the time, the notes will play. 25% of the time the hh will not play. This provides some variety but we want to hear a bit more syncopation. We could create a number of alternate patterns, but there is another way to provide variation.

In the Voice edit screen, select the Basics button on the left and move the slider for "Notes rest %" to 10. This will randomly replace notes with rests 10% of the time which makes the hh tapping more interesting.


We're starting to get a beat going. Next we want to add a snare sound between the kicks. We could create another pattern on alternate beats but this time we are going to use a different voice type. The voices we have so far are "Fixed Pattern" voices. For the snare we are going to use a Following voice. Basically, we want the snare to follow the kick drum one beat behind the rhythm.

To create the snare, let's copy the hh and paste it like before and edit the name to "snare". While on the Basics edit screen, we will change the voice type to "Follows" and we will select patch D045 - I happen to prefer its sound to the snare patches.

Next, we need to select the Follow button on the left and tell the voice which voice it should follow. We will also change the Units selection to Beats (60th of a) and will set the delay slider to 60 to give a one beat delay. We will also change the Percent to 80% so the snare only plays 80% of the time for more variety. Note- setting the delay to 60 is difficult! Get a number on the slider that is close and then press the + or - button to get the value.

This is closer and closer to a full kit! Next post, we will finally finish off the drums. Often, the drums in Noatikl take me the longest to set up.


Saturday, July 13, 2013

Noatikl for iPad pt. 2

This is the second part of my tutorial on using Noatikl for iPad with Virtual MIDI. You can check out the first part on the link at the right.
In the last tutorial we got as far as setting up Noatikl with one voice hooked up to MIDI channel 10. In this part, we will set up the app that will receive the MIDI events. We are going to use IK Multimedia's Sampletank app. Sampletank is a great choice for Noatikl because it supports up to 4 MIDI channels with just one instance of the app. One thing to be careful of with The iPad is how many apps are running at one time. Add too many and you get stuttering.
For this song we will use only Sampletank but you could add additional apps for other MIDI channels if your iPad can handle it.
The screen below shows the sample tank app. To set up the instruments select each part button (A through D) and the desired instrument and sample. I picked Tech House 2 for the drums. While you're here, you can pick instruments for the other channels. My choices are below.
On this screen, you have to configure what channel each instrument uses for MIDI. In the upper right of each instrument, it shows the MIDI channel. For the drum, tap on the channel. Each tap will increment it. Set the drums to channel 10 (typically used for drums). Also set the next 3 instruments to channel 1,2 and 3.
 
 
You can use the keyboard and tweak each sample until it sounds the way you want it to. The only changes I made were to the lead on channel 2. I added a little delay.
For Virtual MIDI select the menu button on Sampletank and click background audio and MIDI controllers. Red indicates it is active.
 
 
Now back to Noatikl! We're almost ready to make a noise. Go to the Design screen and lightly tap the voice. This will bring up a menu as shown below. We'll click on edit to set some options.
 
 
On the voice edit screen there are pages and pages of options. Fortunately, we'll only be dealing with a few of them. The defaults are not bad to start with. First, click on the voice name and change it to "kick"IMF you haven't already. Next click on the voice type and select "Fixed Pattern". There are many voice types in Noatikl. The Fixed Voice type will play a specific pattern or patterns that you supply.
We are going to use General MIDI patches for the drums. Select the Patch menu and scroll down to D036-Kick Drum 1. Also make sure the "Use Patch" switch is on as below.
 
Next we need to set up the pattern for the kick drum to play. Press the "Pattern" button on the left side of the screen which shows something like:
 
Click on the Patterns to show the editing screen:
For now, change the default pattern to exactly what is shown on the first line and press return. Then press the + button on the lower left of the screen and type in the second pattern. We'll explain the patterns in the next tutorial. For now just use as is.
Click on the design button again and press the play button on lower left. If all is well you should hear the kick drum from Sampletank playing now! Make sure Sampletank is still running if you don't hear anything.
Next post, we'll get into more about patterns and voices and build up our drums.


Friday, July 12, 2013

Noatikl for the iPad - tutorial 1

I'm going to go step by step in creating a Noatikl piece that uses Virtual MIDI to drive other apps on the iPad in this example. Noatikl has a nice built-in modular synth called Partikl that you can use if you want to craft your own sounds with oscillators, drum synths etc., but Virtual MIDI lets you use any of your favorite synth apps provided that they support MIDI (most major synths seem to).
If you want all the details on Noatikl or its built-in synth, Partikl, check out the documentation at Intermorphic's website here.
To start our song, hit the menu button in the upper left corner of Noatikl.


This brings up the menu to load an existing piece or create a new one:

Press the plus button on the upper right to create a new piece. This brings up the template menu.


Assuming you are creating a Western style piece with traditional scales, select the "Scale Rules" template for your new piece. This will pre-load the internal rules for scales, rhythms etc. it does help if you have some musical training!
Next we should set up some defaults for our pieces such as tempo, scale and how we want to generate the sounds. For that you should press the piece button at the bottom of the screen to show the piece options.

This screen can be intimidating but we are only going to change a couple defaults. We will make the tempo 120 BPM and then scroll down to scale and select Pentatonic.

I also put my name in author and put a note in reminding me of the synth I am using for the sound. The grey bars in the rules show which notes or intervals will be used and the height of the bars indicates the probability for any given event. Confused? The noatikl manual goes into more detail. Note that the Pentatonic scale rule has five bars of equal height. A Pentatonic scale has five notes and we made them all equally likely to be played. Pentatonic scales almost always harmonize easily and sound good. You can always come back here later, change the scale type and immediately hear the effect on your song!
Now we should press the design button and set a few more options by pressing the gear button on the upper right of the screen.
We are going to turn off the Partikl switch since we will not be using Noatikl's built-in synth. We will turn on Virtual MIDI and MIDI clock options so these are sent to the Virtual MIDI ports.
Alright so far? Let's add a voice in Noatikl. Go to the design screen and press the + button. This time select from the Noatikl seed section a fixed pattern voice.
This voice is going to be our kick drum! In the design window, drag from the new voice and you'll see 16 'target' MIDI destinations. Drag to MIDI channel 10. Tap lightly on the voice, select edit and tap on 'Voice 1' and rename it to Kick.
At this point we have a nice song that makes no noise at all! In the next post, we will configure the target MIDI application that will be playing the notes.

Thursday, July 11, 2013

Noatikl for the iPad

I got some nice feedback on my post about Noatikl for the iPad so I think I will deconstruct/and reconstruct a piece I put together today using Noatikl on the iPad along with SampleTank, one sound sample and recorded into MultiTrack DAW via Audiobus.

This is the intro posting with the completed piece. The process was to program 4 tracks into Noatikl and have Sampletank play them into the recorded piece. I think I'll go through the process step by step. Up until know, I've avoided this since folks like discchord and others do such a great job. Noatikl is niche enough that it isn't getting that much coverage and I very much prefer written tutorials to Youtube ones (probably just a sign of age).

So as an intro, here is the piece I put together on the ipad. All parts are from Noatikl with the exception of the "babbling brook" noises which are a free sample from freesound.org.


It is an ambient piece with about 8 voices in Noatikl corresponding to 4 MIDI channels. I will begin in the next post with how I set up the drums in Noatikl for iPad.

Friday, July 5, 2013

Noatikl hits the iPad! Generative music goes portable!


I'm just back from a wonderful vacation in Bermuda and was thrilled to see that one of my favorite desktop music tools is now available on the iPad - Intermorphic's Noatikl. If you're read my older posts, you know that Noatikl is basically a way to program generative music - you give your voices various rules to follow and it emits the MIDI events to play the way you instructed it too. Sort of like playing God, and who doesn't like that from time to time!

Noatikl comes with a built-in modular synth (Partikl) that you can use immediately without having to hook up virtual MIDI channels but to really get some great sounds, you will probably want to take advantage of Virtual MIDI and use your favorite synths or samplers on the iPad.

On the desktop version, its fairly easy to use up to 16 channels and the CPUs are usually up for the task. The first thing to get used to on the iPad is that you have to conserve the somewhat meager CPU on the iPad. Open up 3-4 different music apps at once and run them all in the background and you'll quickly find this a challenge!

As most initial releases go, this one has a few semi-serious bugs and niggles but I'm confident they will be addressed and there are workarounds for most of them - the worst I saw was that editing a pattern has to be done in "portrait mode" at the moment. Should be sorted in the next release.

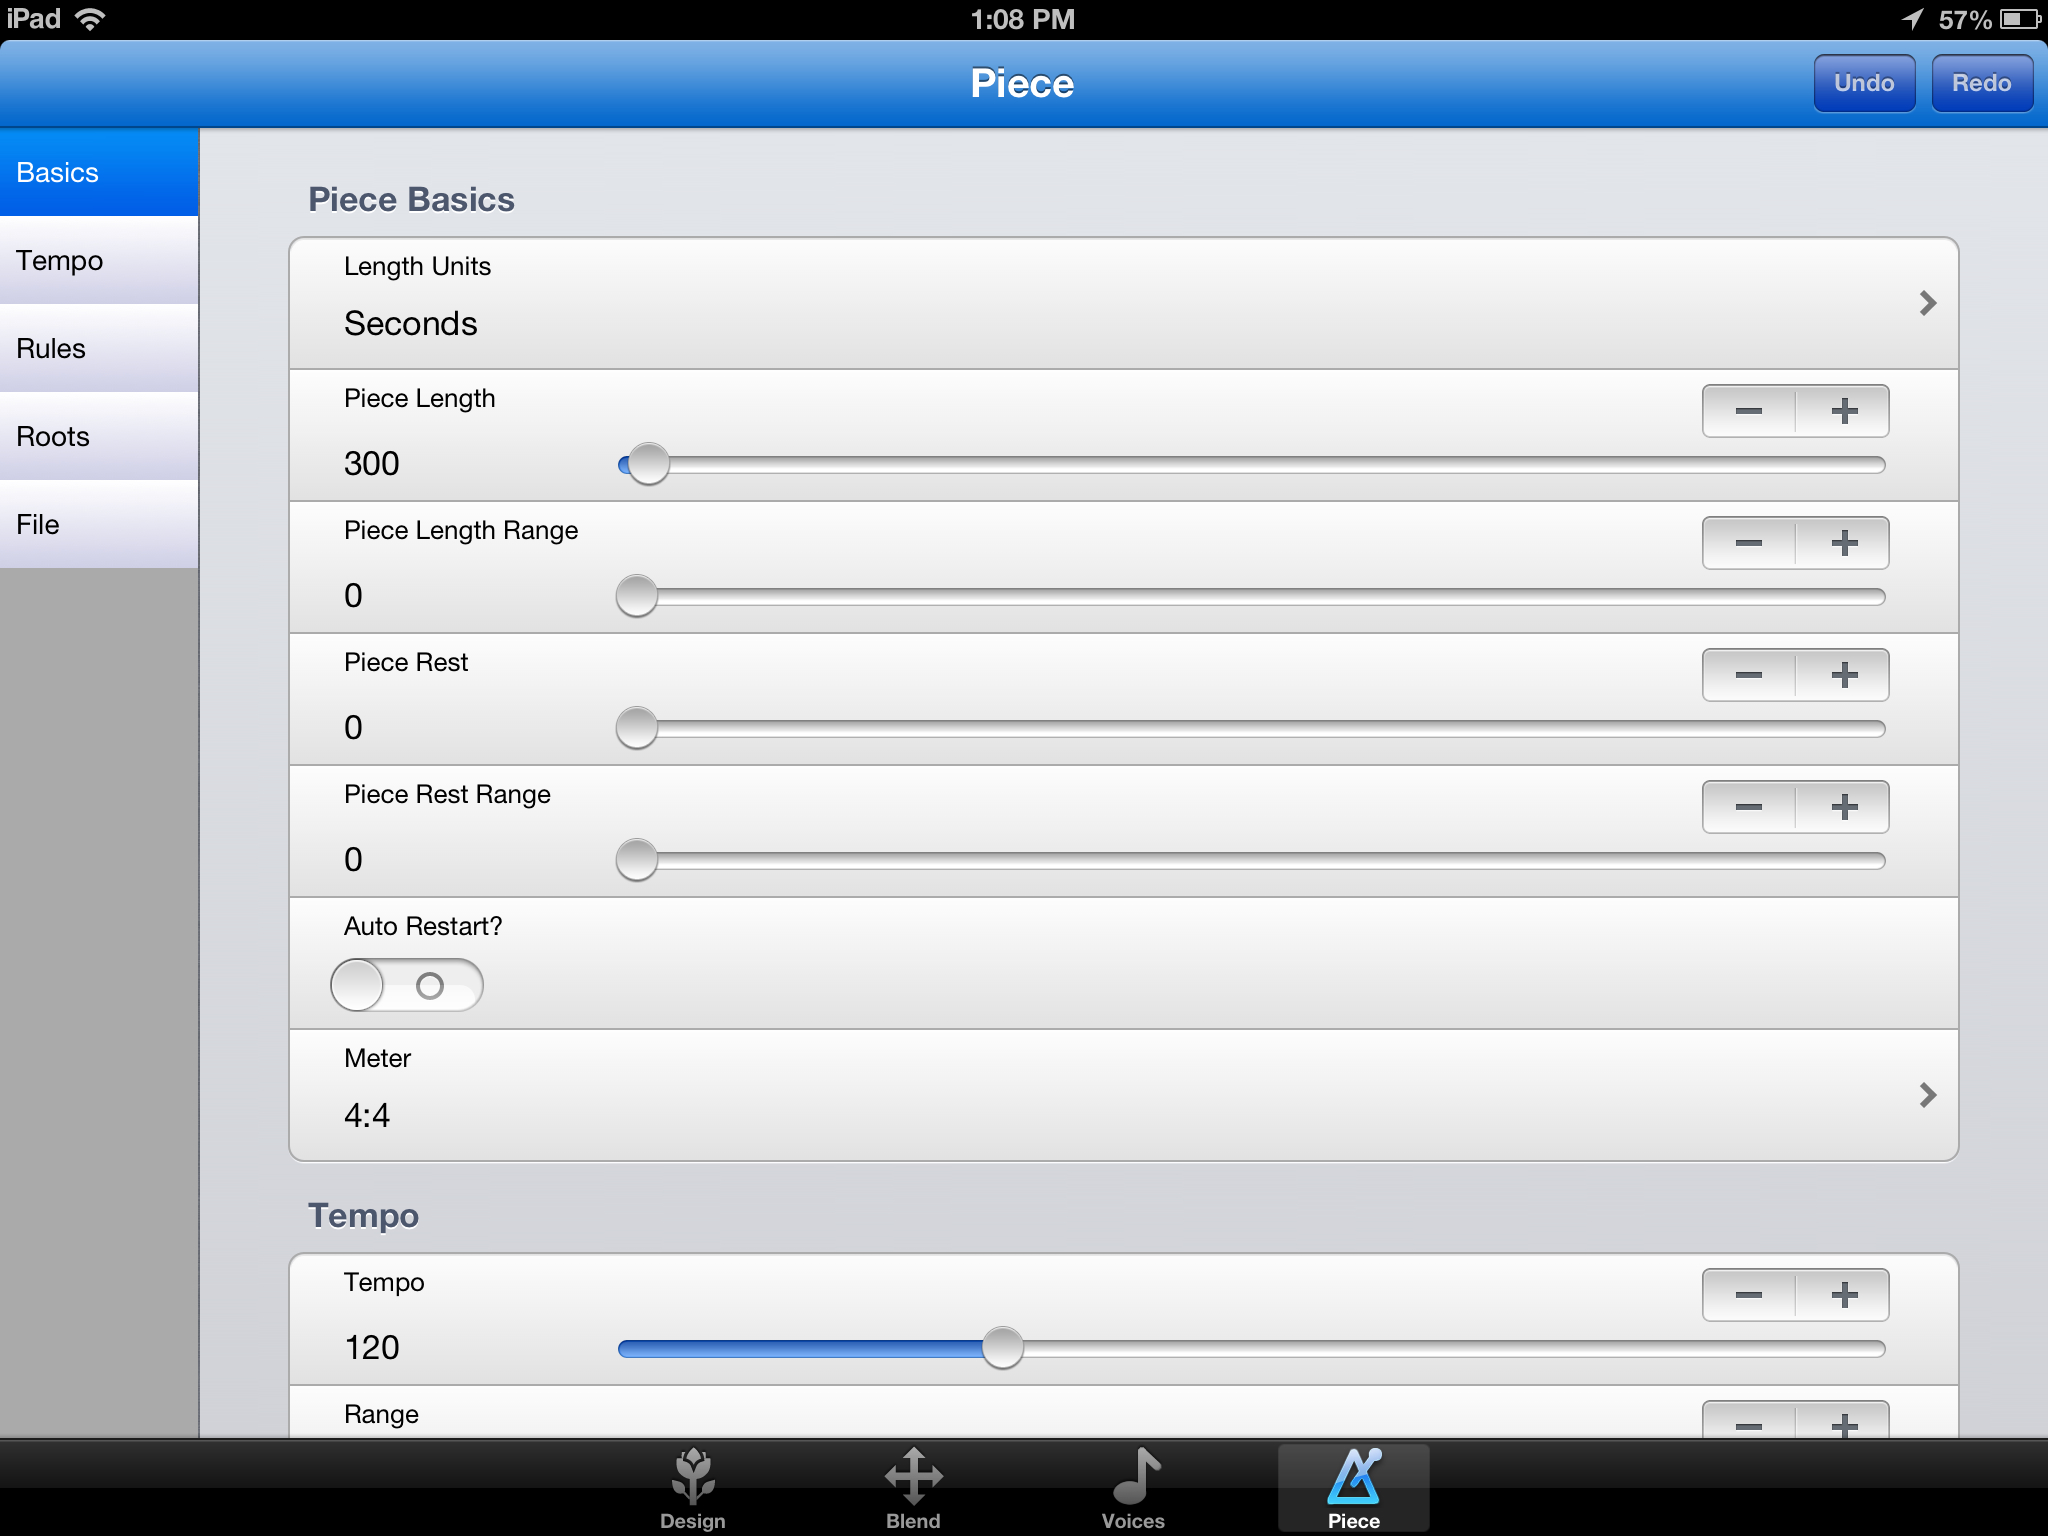
Without going too deep into generative music, rules etc, I'll walk through what I did to create a nice chillout piece on the iPad.

First off, here it is:


I decided to use some "lighter" tools to create the sounds and record them so for this example, I avoided the excellent Auria DAW and stuck to the very light and usable MultiTrack DAW for recording.

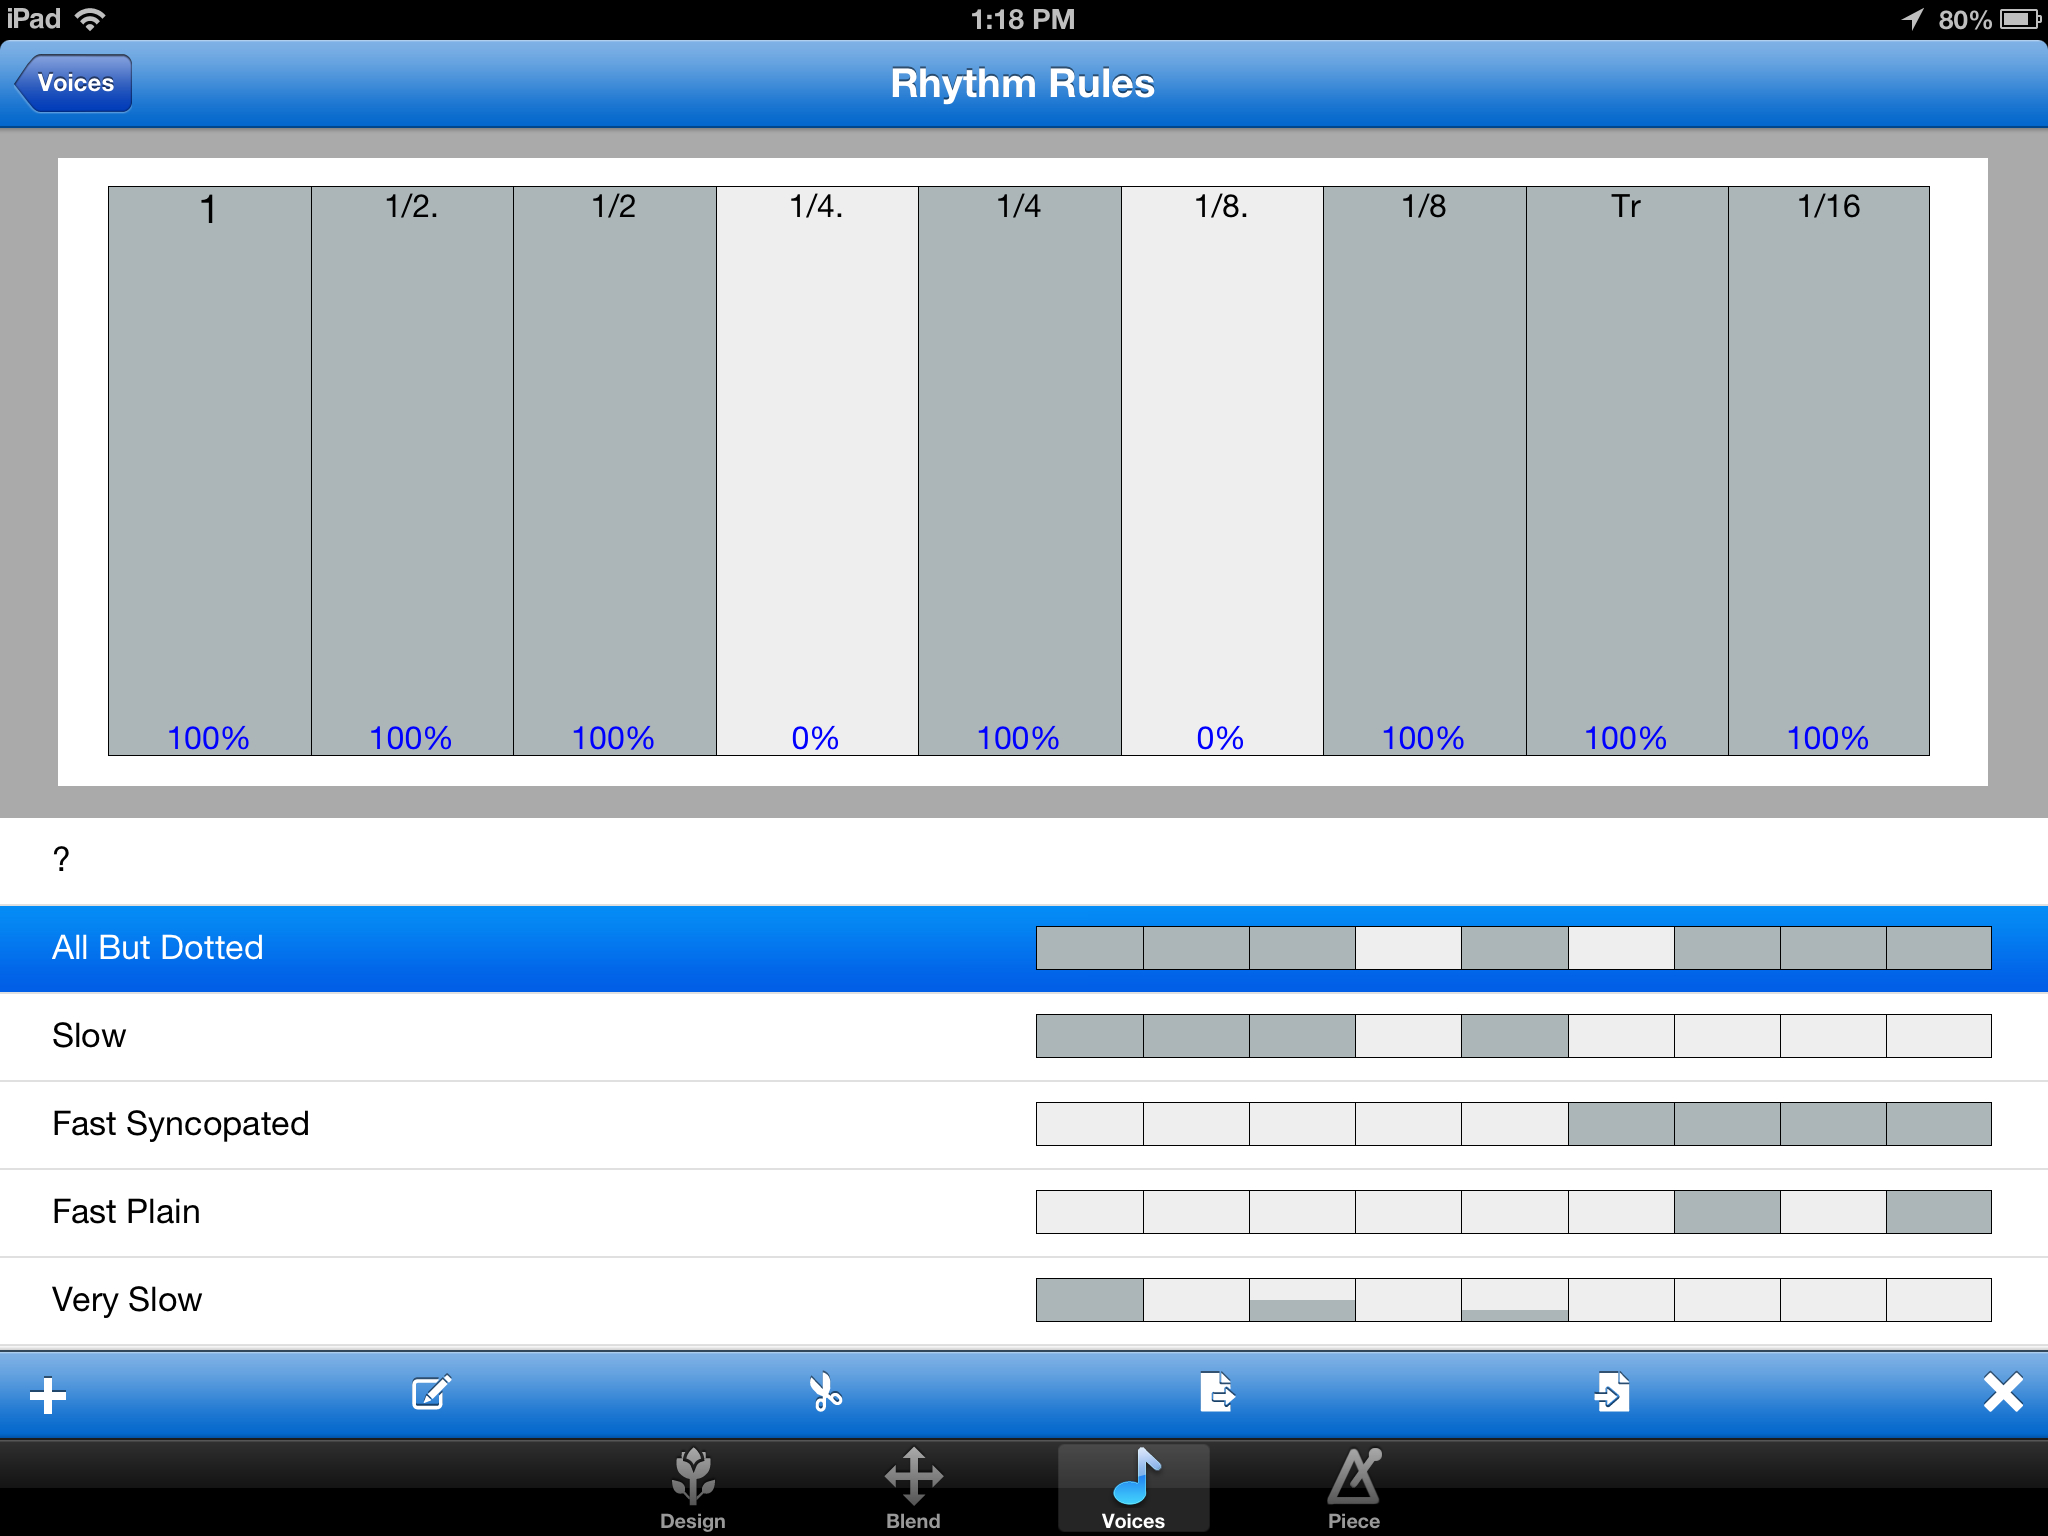
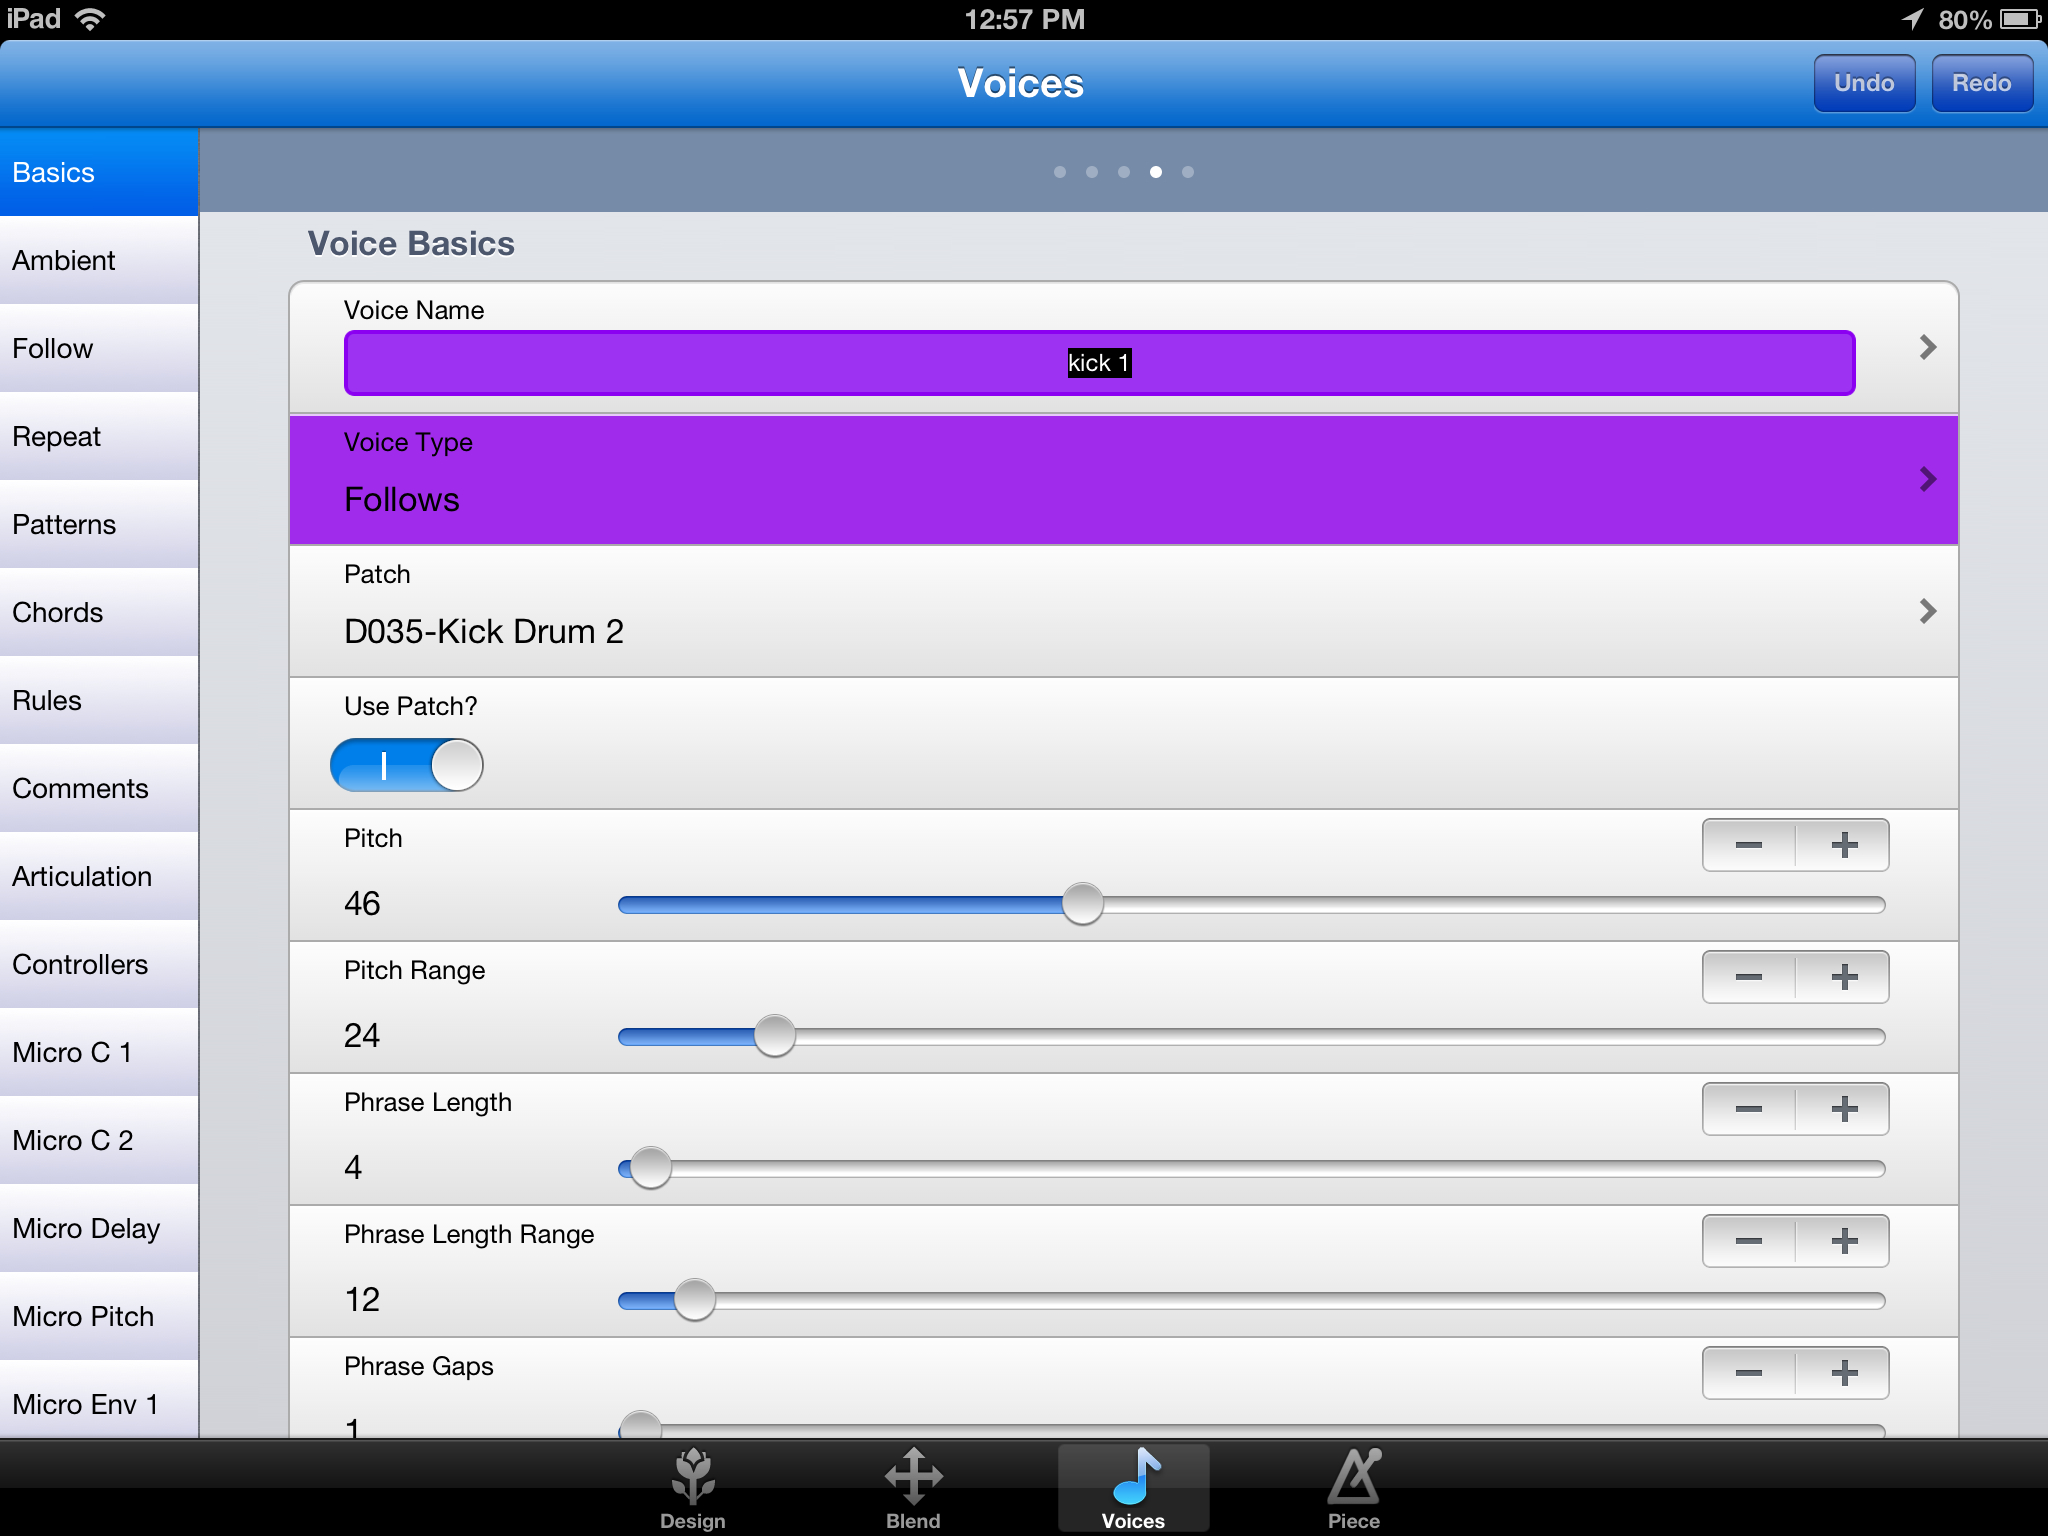
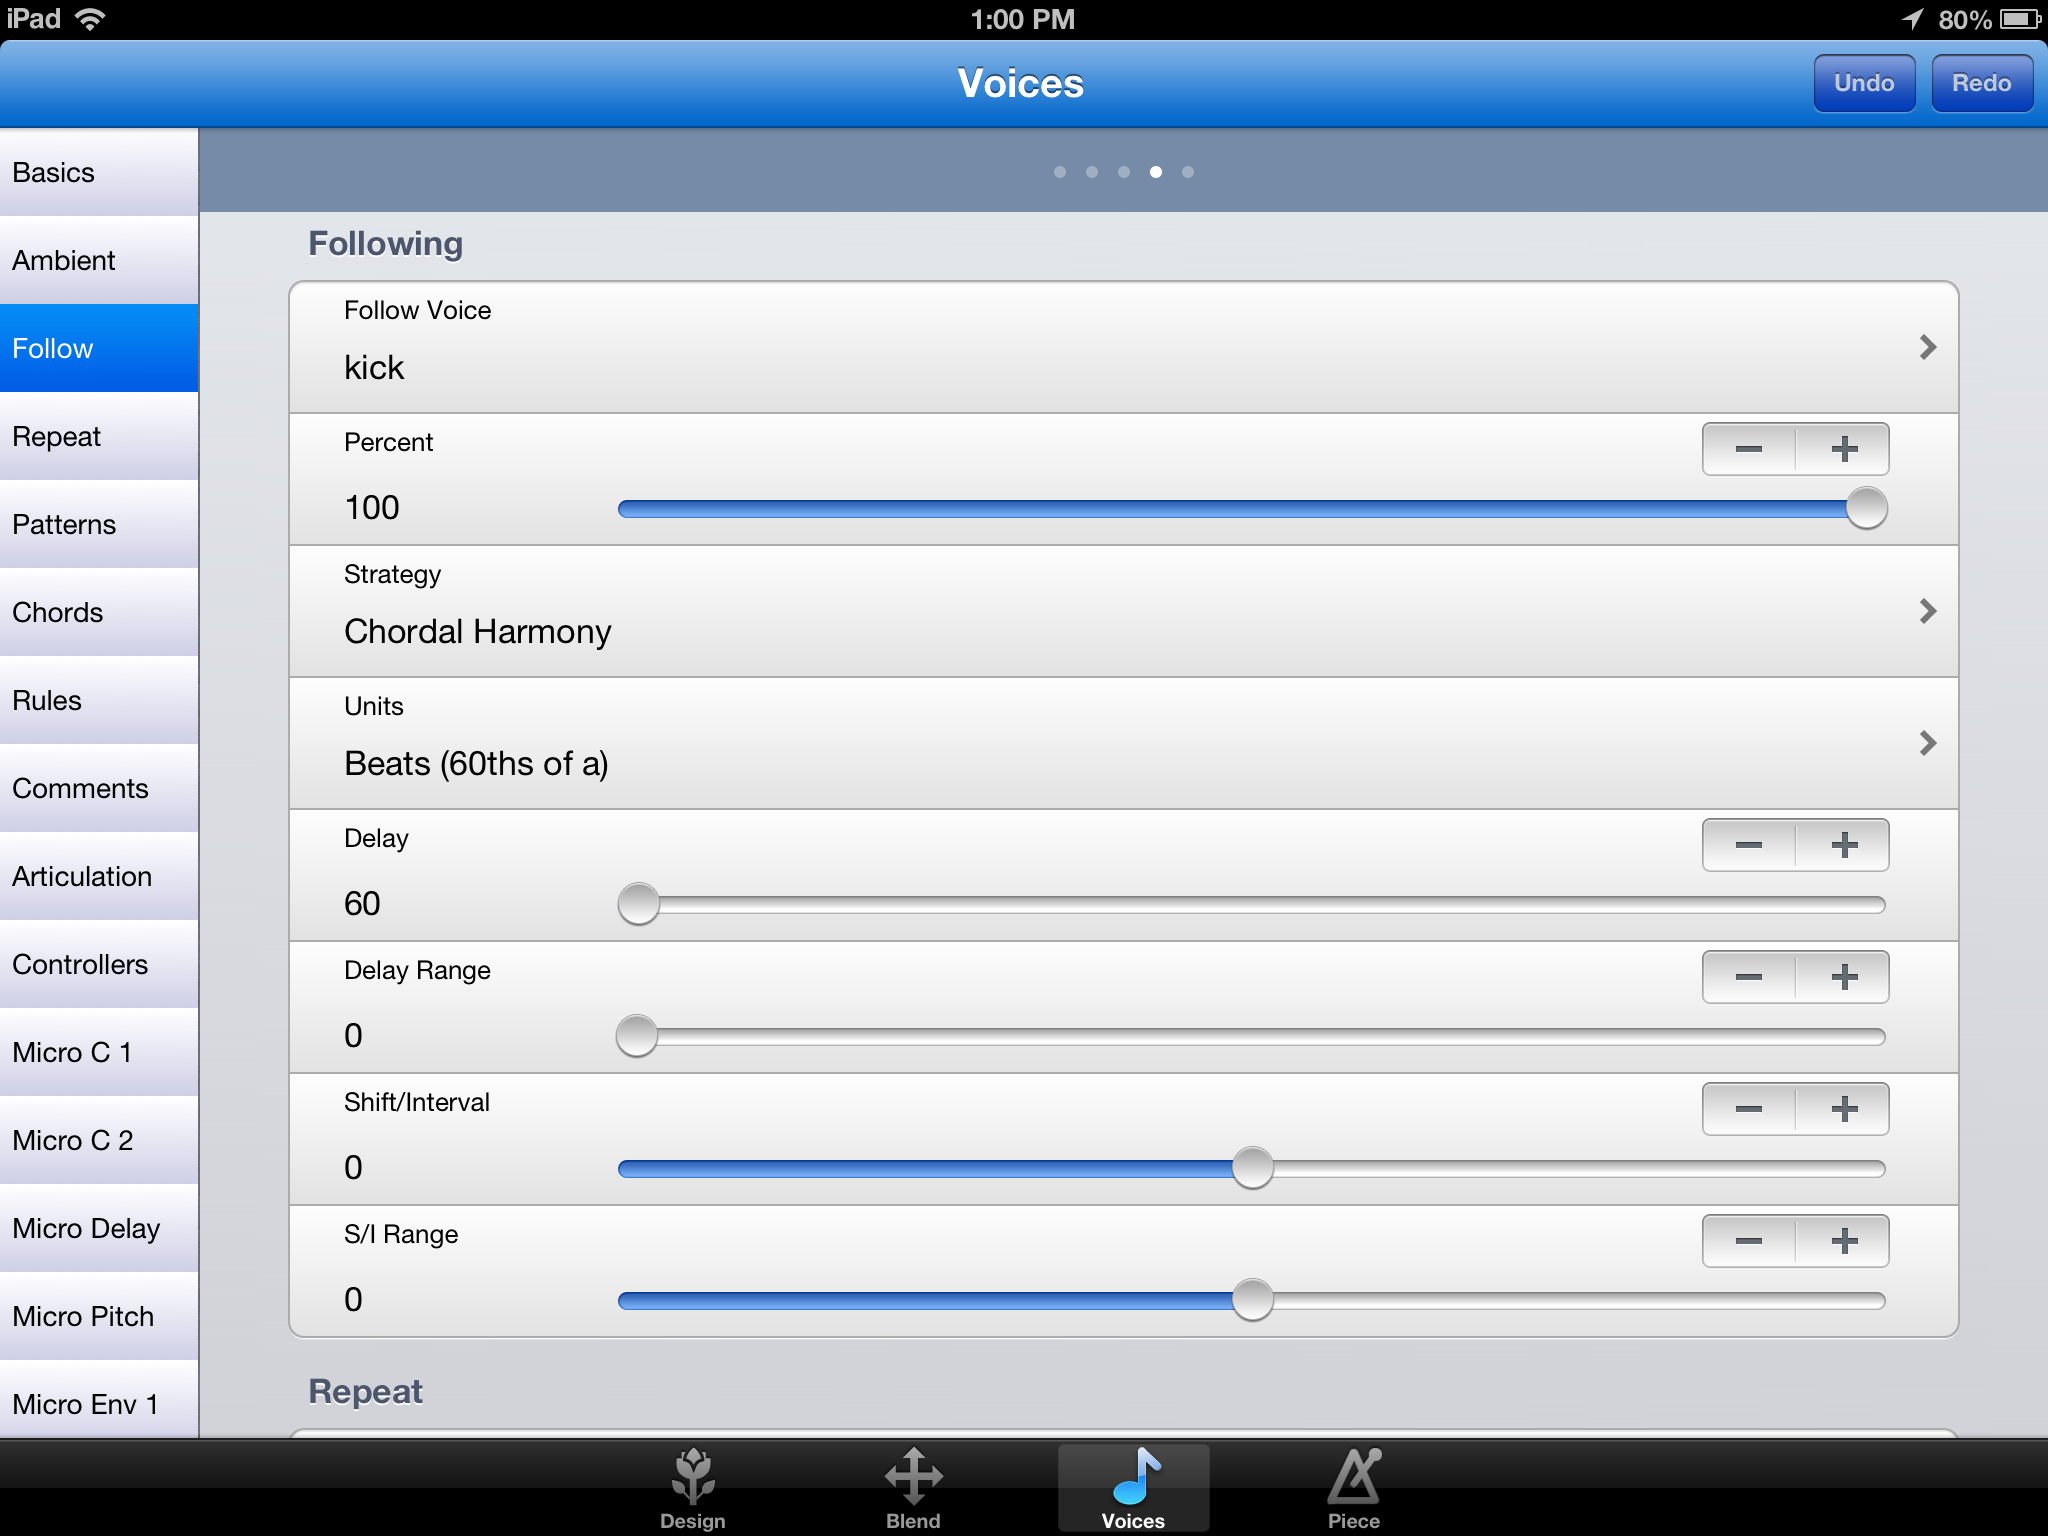
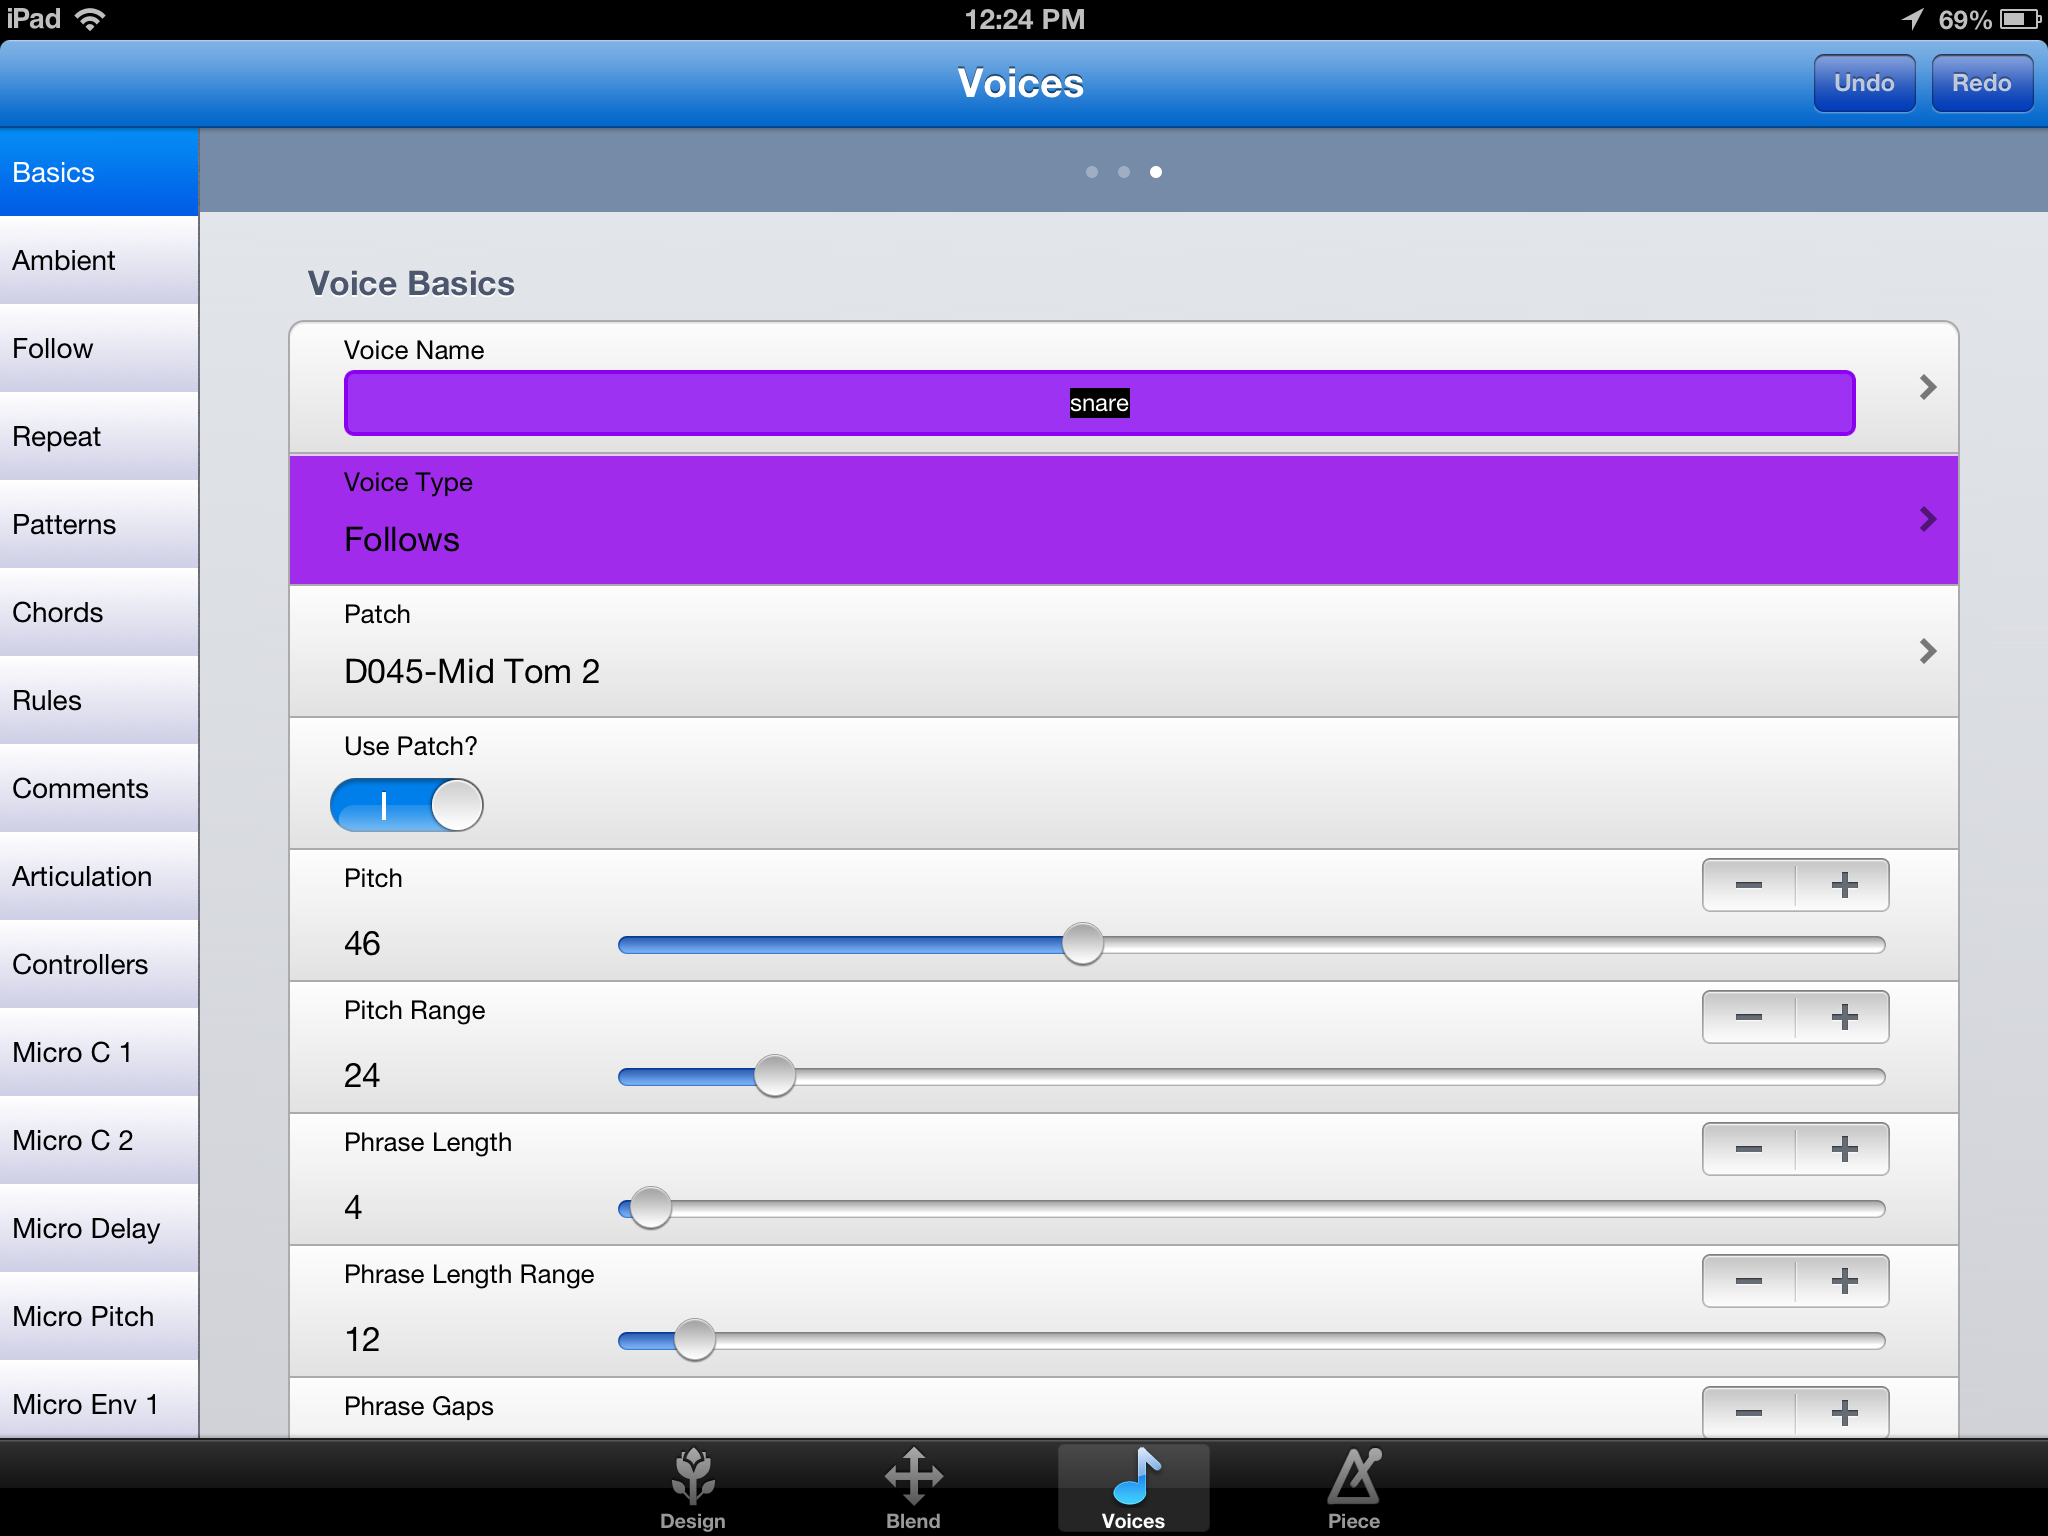
In Noatikl, drum sounds all go to MIDI channel 10 and you create one voice for each "drum" and attach all of them to channel 10. To do this, you probably want to use rhythmic patterns instead of note patterns and you should make each voice use the GM "patch" you specify. Try to use drum kits that respect the General MIDI mappings.

In my case I used Drumjam - the "lower portion" where you can drag a kit to the pads. From Noatikl, I created a number of "fixed pattern" voices that play the exact rhythms you specify. The key to making things interesting is to create more than one pattern and give each one a "probability" of firing. So for the bass drum, I created a few patterns in Noatikl - one that played on beats 1 and 3, another with some syncopation and a third that only played once. Each had a weighted probability of 33 so that when Noatikl emits the MIDI, there will be some variation.

I did the same for the snare and high hats and then I put a very low probability on a beat 4 cymbal crash. This created a very nice laid back drumbeat on the song above. To further make things less "robotic", Noatikl lets you put "micro-delays" on each note and I varied each note from 2-4 microseconds to make the drumming a little more human sounding.

I used Virtual MIDI to hook up Drumjam to Noatikl via MIDI channel 10 so that when I start Noatikl playing, Drumjam puts out the sounds.

Next I wanted to add bass, guitar and an organ (on MIDI channels 1,2 and 3 respectively). To minimize the CPU usage, I chose to use 
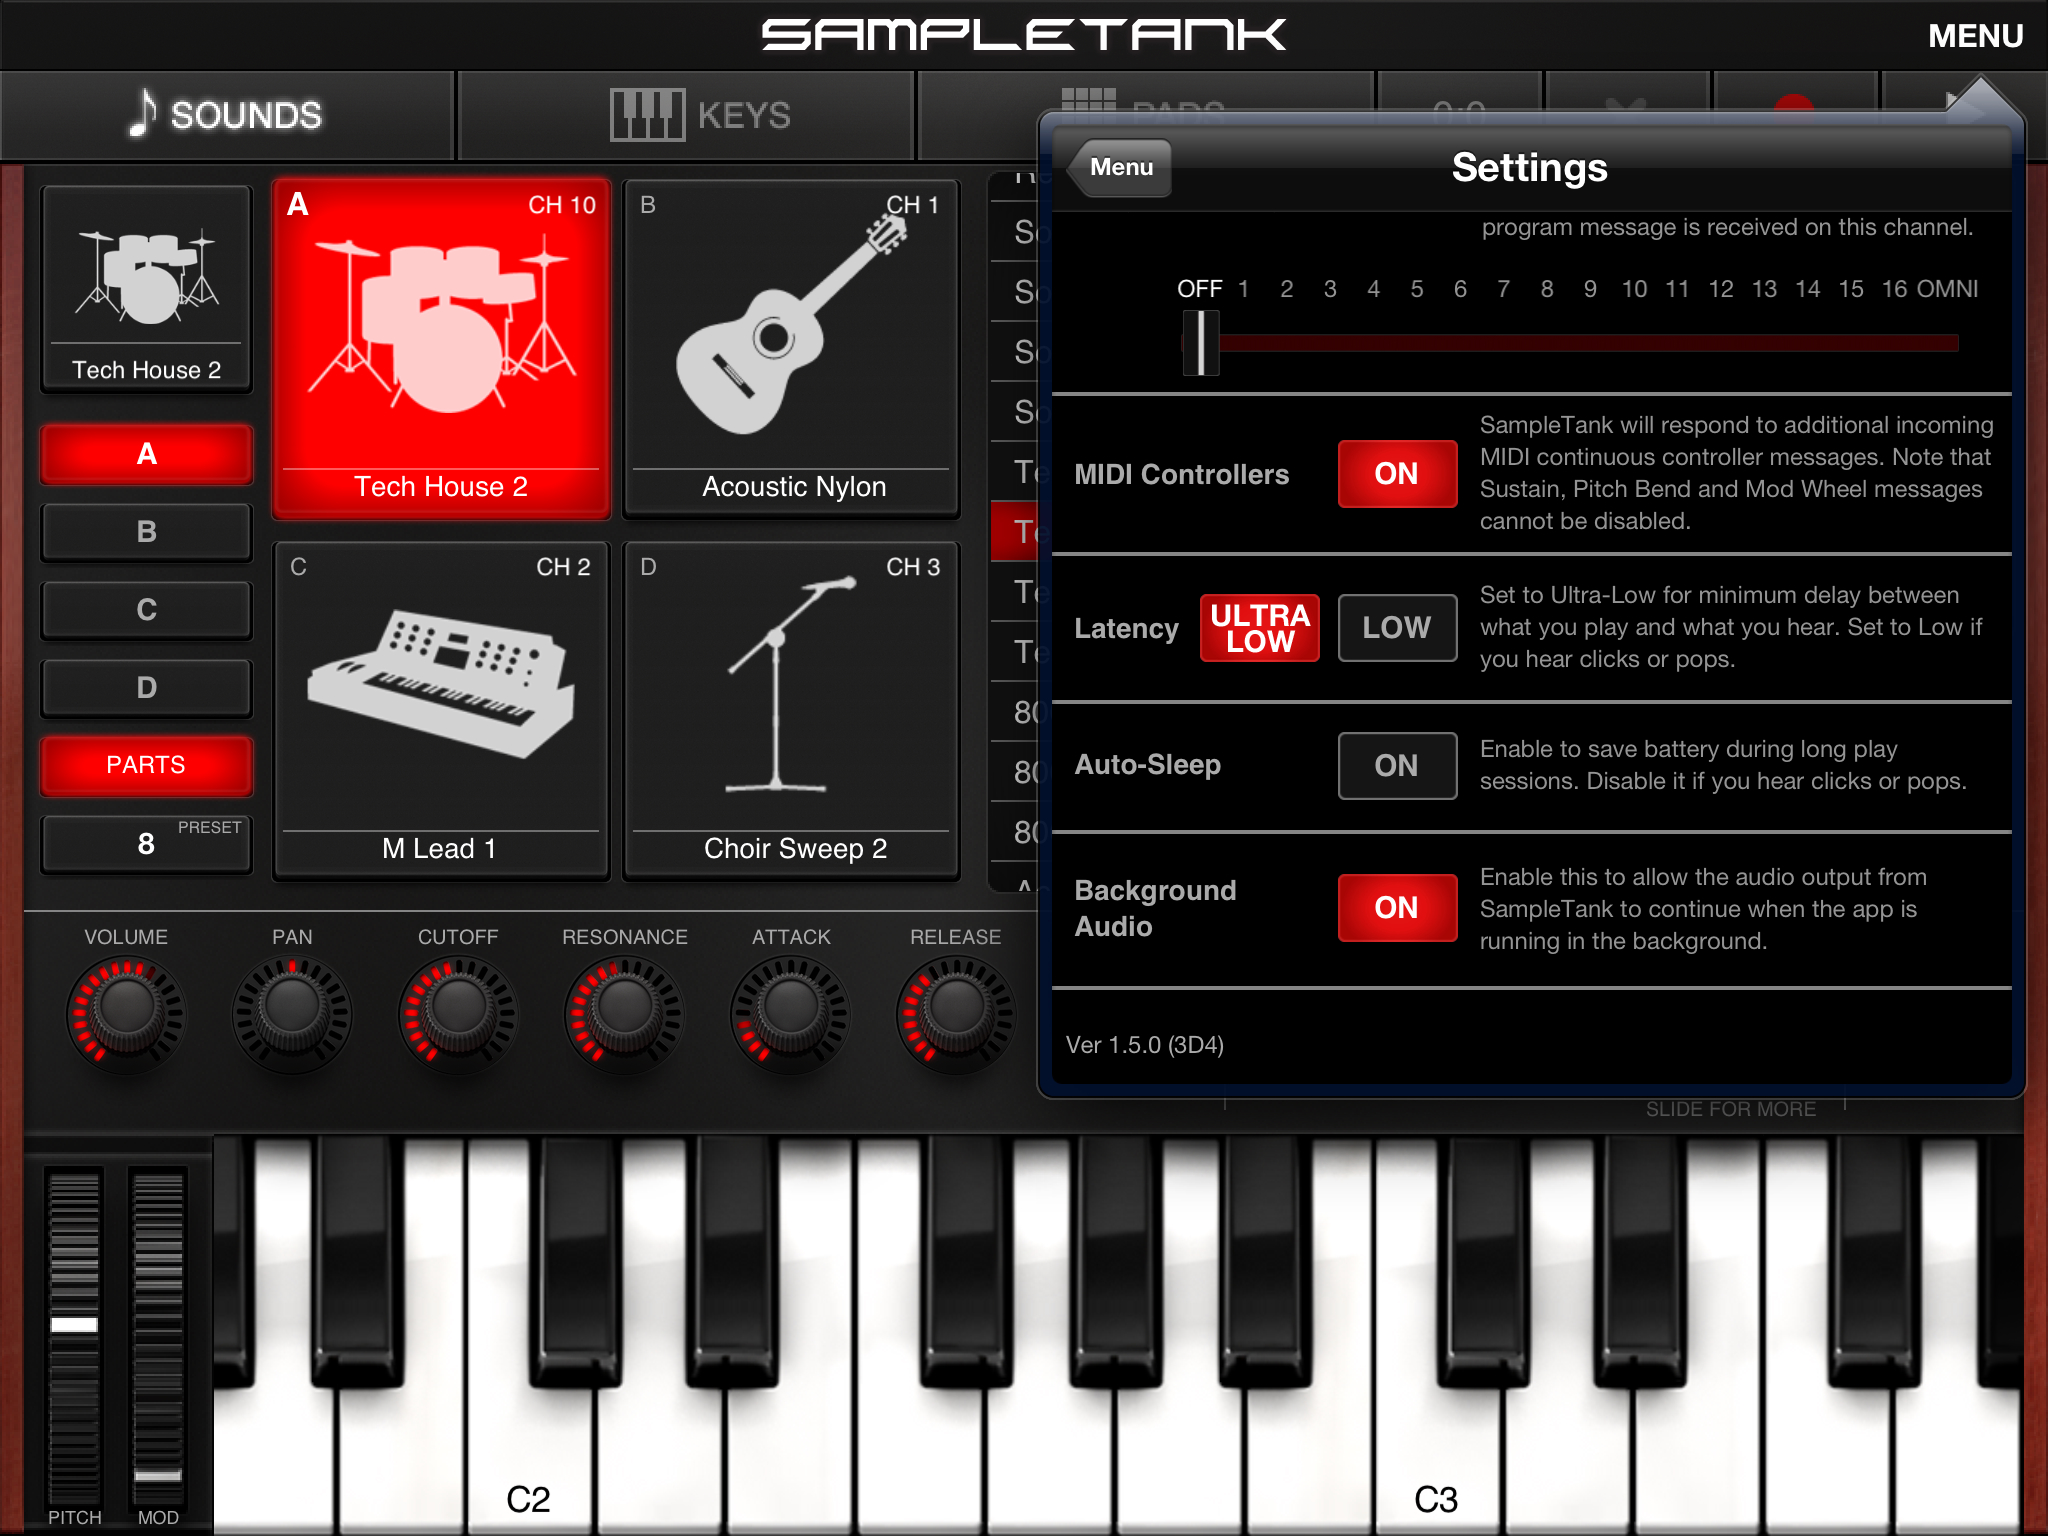
SampleTank for the iPad. This is a good choice with Noatikl since just one instance of the app can take up to 4 MIDI channels in. This preserves CPU!

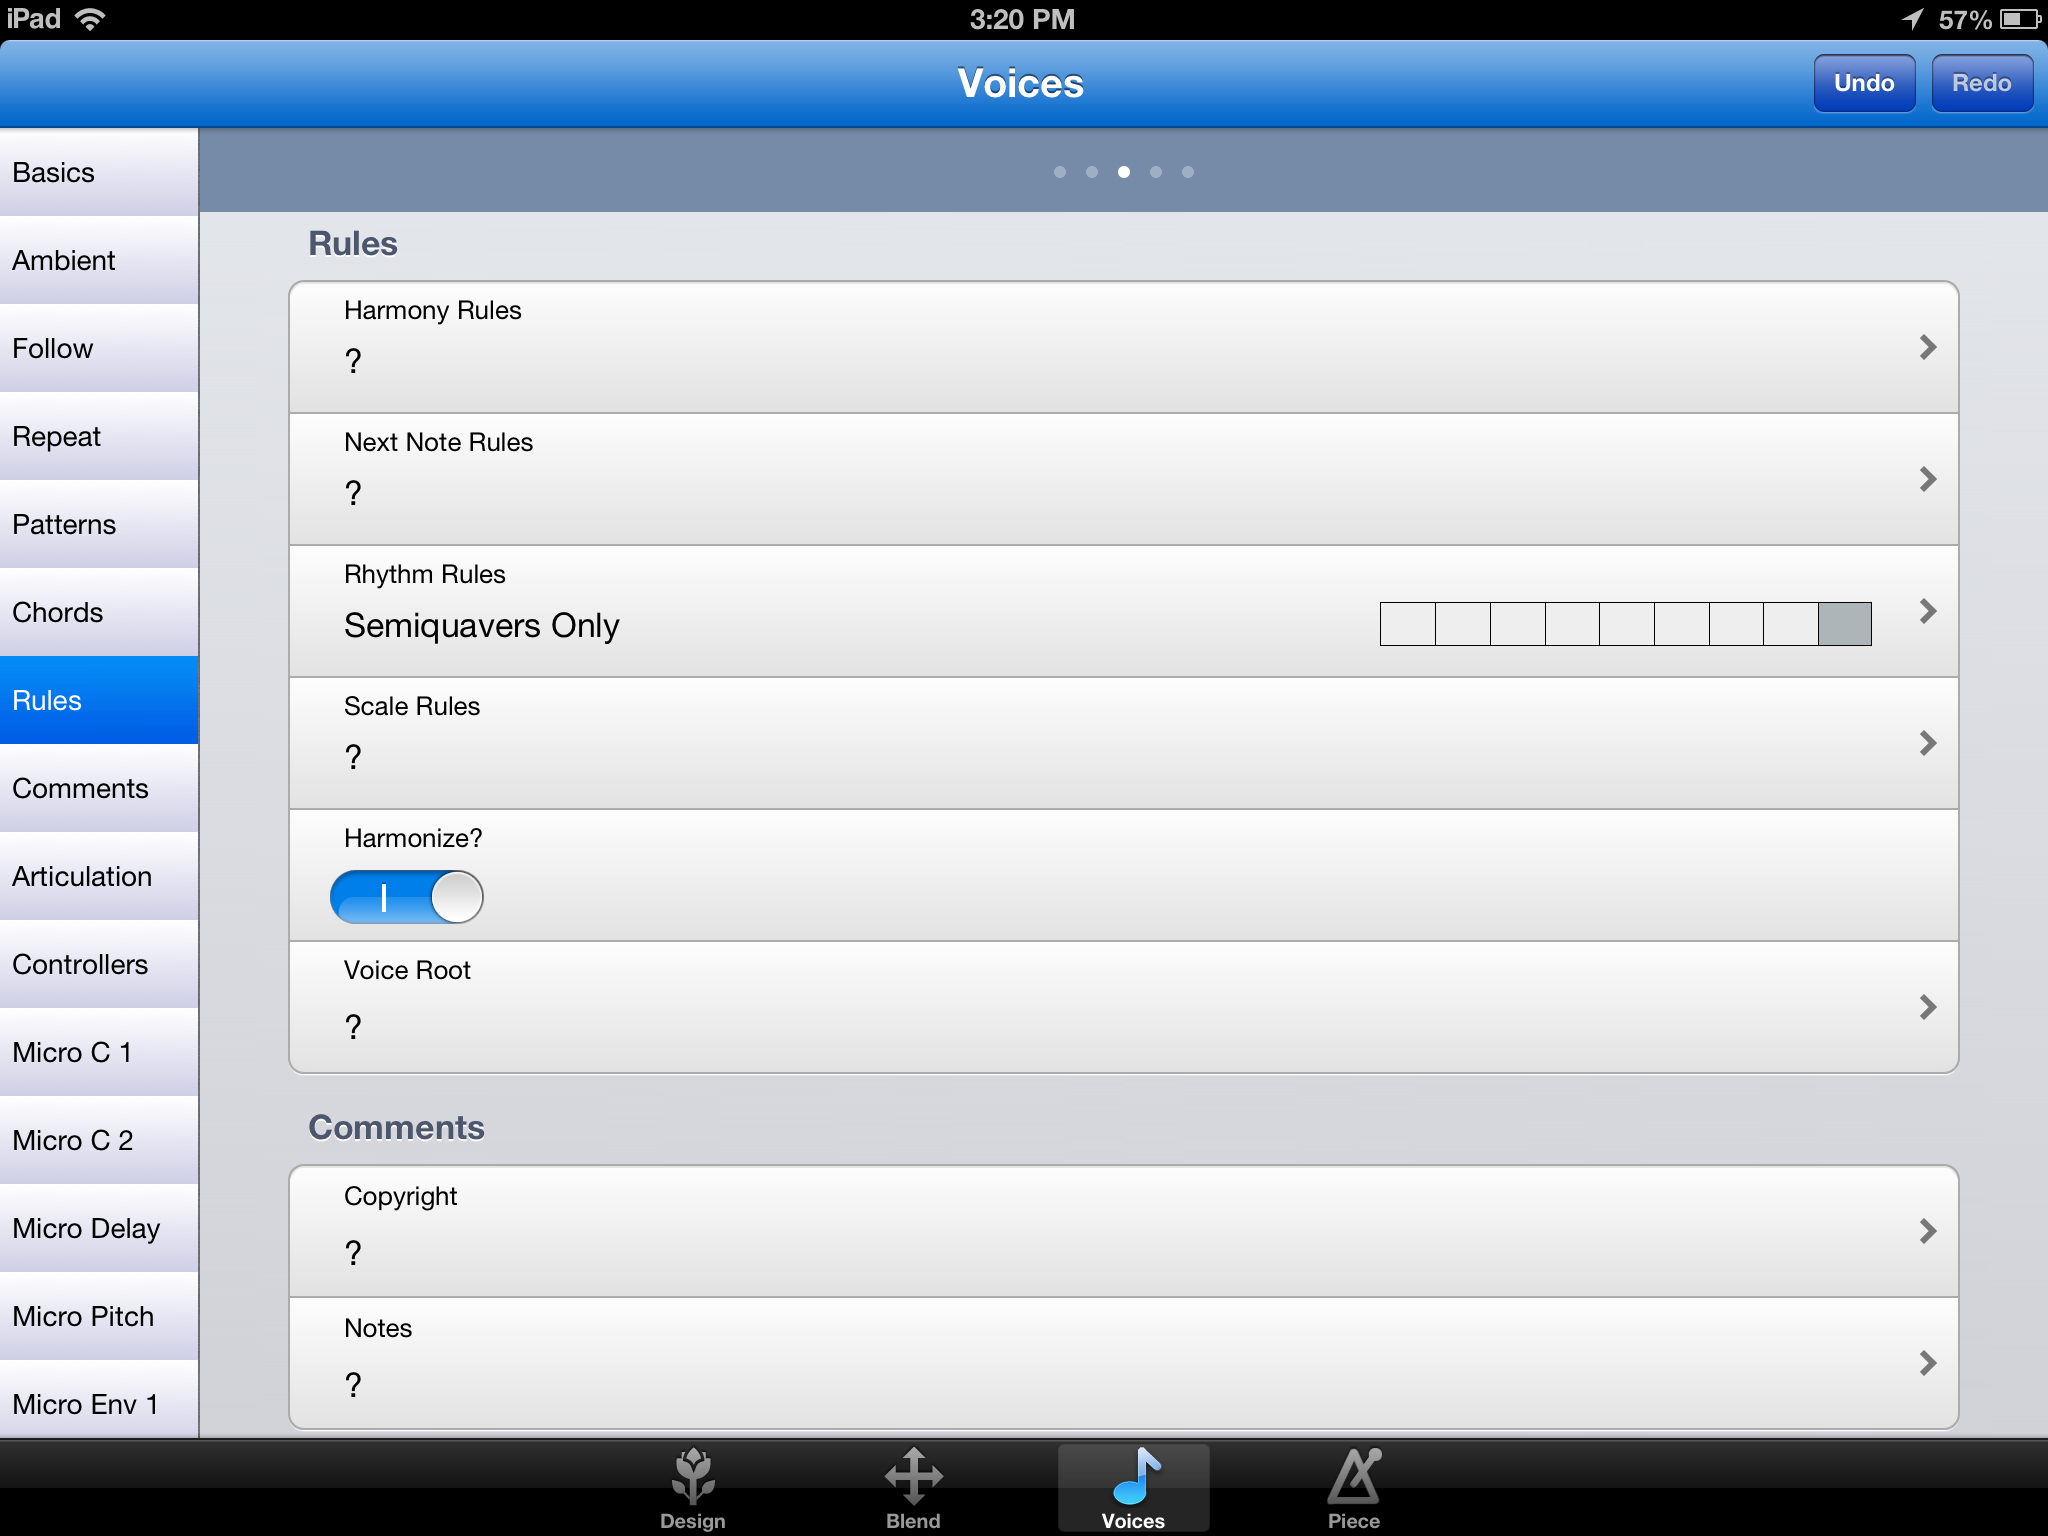
I created a simple rhythm for the bass, constrained it to a note range and told Noatikl to use a Pentatonic scale for the piece. I used a similar set of rhythmic patterns for the bassline again with a little randomness to keep it interesting.

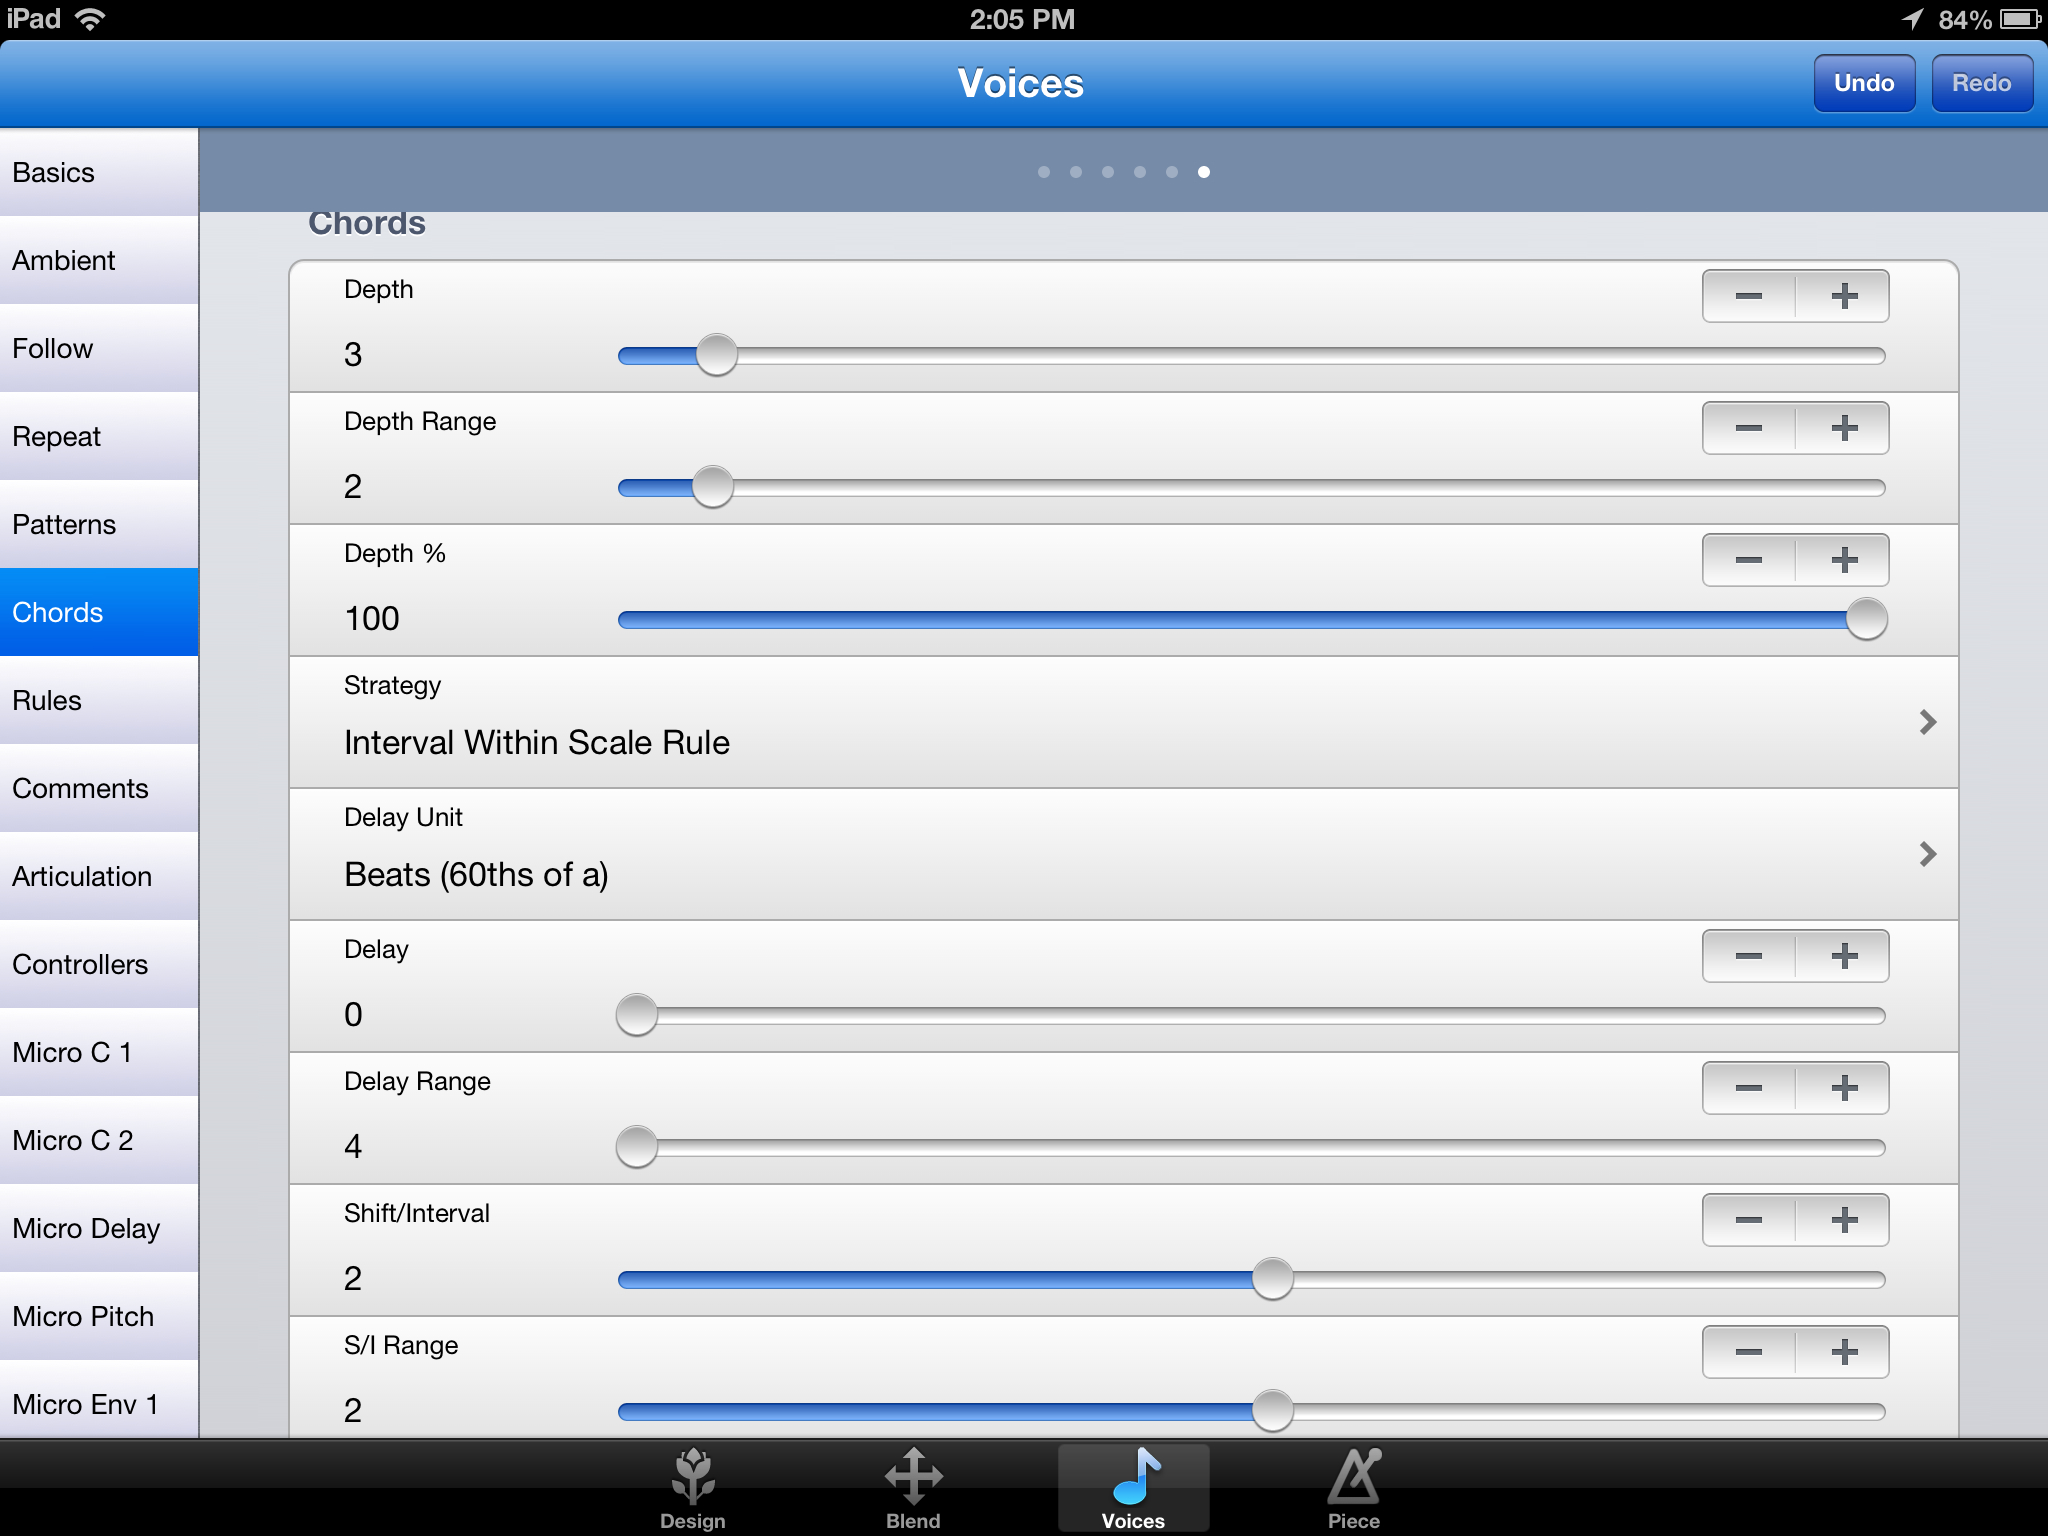
For the Guitar, I did the same but then went into the "Chord" section of Noatikl and told the voice to use at least 2 notes and at most 5 - corresponds to how many strings. Also in the "Chord" section I put a  little delay between each note (1-2 microseconds) to give it a "strum" sound.

For the Organ, I programmed the voice to follow the guitar voice one beat behind and to harmonize with it in the Pentatonic scale. For notes I used between 1-3 notes at a time also with a slight random delay.

So with Sampletank, Drumjam and Noatikl open, I played around with the voices and tweaked until I got a nice evolving background sound. Once I liked it, it was time to fire up AudioBus and MultiTrack DAW to do some recording.

One confusing thing in Noatikl is that it can be a "source" for Audiobus, but this will only work if you are using the built-in Partikl synth. If you are doing Virtual MIDI, leave this unchecked and put the synths you are controlling into the inputs to Audiobus (in my case, SampleTank and Drumjam).

I then started MultiTrack DAW recording and pressed play in Noatikl. As the song was generating and recording, I occasionally muted and unmuted a few voices in Noatikl to bring things in and out.

After I got the recording in MultiTrack DAW, I decided to put a traditional "played" synth part as the lead. I closed Noatikl, put Nave into the Audiobus input and played back the recorded tracks while performing the lead part in Nave.

A few takes later, back to MultiTrack DAW to add some light effects, compression and fades and the song was complete.

I highly recommend that you check out Noatikl in more detail if you get the chance.